Building a Local-First Smart Home with ESP32 and ESPHome
How to build smart home sensors and switches using ESP32 microcontrollers, ESPHome firmware, and Home Assistant — no cloud required.
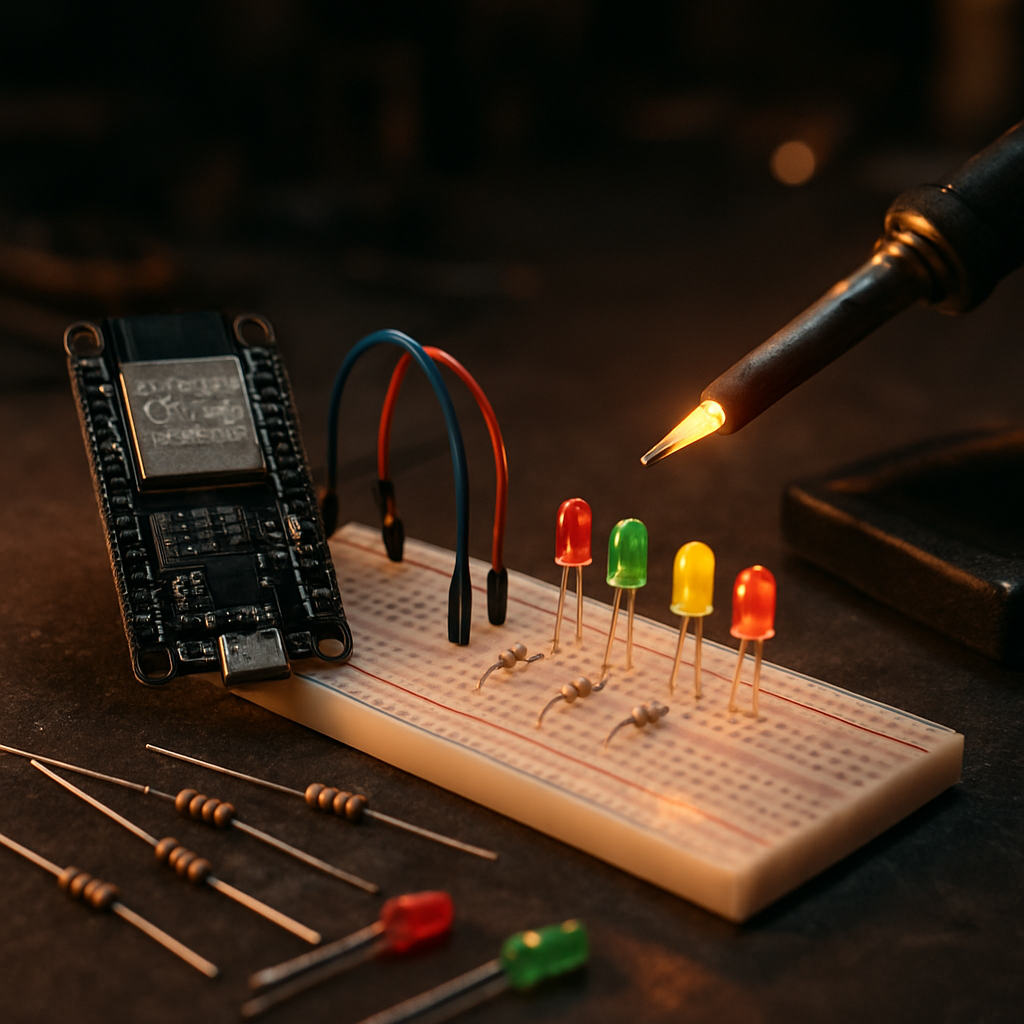
Commercial smart home ecosystems trade convenience for dependence. Your Philips Hue bulbs work brilliantly — until Signify changes their API, the bridge needs replacing, or a subscription tier appears. The local-first approach with ESP32 and ESPHome breaks this pattern entirely.
The Stack
- ESP32 — Dual-core 240 MHz Xtensa LX6, WiFi and Bluetooth, €3–€8 per unit
- ESPHome — Firmware framework that turns YAML config into compiled C++ and handles OTA updates
- Home Assistant — Self-hosted automation hub running on your local network
- MQTT — Optional message broker for complex topologies
The ESP32 and ESPHome combination means your devices communicate directly with Home Assistant over your local network. No internet connection required for anything except initial firmware flashing.
Your First Project: Temperature and Humidity Sensor
Hardware needed:
- ESP32 development board (ESP32-WROOM-32D recommended)
- DHT22 sensor (or BME280 for better accuracy)
- USB micro cable for initial flash
# esphome config: bedroom-sensor.yaml
esphome:
  name: bedroom-sensor
  platform: ESP32
  board: esp32dev

wifi:
  ssid: !secret wifi_ssid
  password: !secret wifi_password

api:
  encryption:
    key: !secret api_key

ota:
  password: !secret ota_password

sensor:
  - platform: dht
    pin: GPIO4
    model: DHT22
    temperature:
      name: "Bedroom Temperature"
    humidity:
      name: "Bedroom Humidity"
    update_interval: 60s
Flash this via ESPHome Dashboard (available as a Home Assistant add-on or standalone Docker container), and your sensor appears automatically in Home Assistant via the native API — no MQTT broker needed for simple setups.
More Useful Projects
Smart Plug Power Monitor
The Shelly Plus Plug S runs an ESP32 variant and can be flashed with ESPHome for local power monitoring. Use it to track server, appliance, or EV charger consumption:
sensor:
  - platform: hlw8012
    sel_pin: GPIO17
    cf_pin: GPIO14
    cf1_pin: GPIO27
    current:
      name: "Plug Current"
    voltage:
      name: "Plug Voltage"
    power:
      name: "Plug Power"
Presence Detection with mmWave Radar
The LD2410C radar sensor connected to an ESP32 provides room occupancy without cameras:
binary_sensor:
  - platform: ld2410
    has_target:
      name: "Room Occupied"
    has_moving_target:
      name: "Moving Target"
    has_still_target:
      name: "Still Target"
This is genuinely superior to PIR sensors — it detects a person sitting still reading, not just movement.
OTA Updates
Once devices are deployed, ESPHome handles over-the-air firmware updates. Modify your YAML, recompile in the ESPHome dashboard, and devices update themselves when they check in. You never need physical access again.
Why Not Tasmota?
Tasmota is the other popular ESP firmware. ESPHome's advantage is its declarative YAML approach — you describe what you want, and it generates the code. Tasmota requires learning its command system and is better suited to commercial devices being re-flashed. For custom hardware, ESPHome is significantly faster to develop with.
Total Cost for a 10-Room Sensor Network
| Item | Qty | Unit Cost | Total |
|---|---|---|---|
| ESP32-WROOM-32D | 10 | €3.50 | €35 |
| BME280 sensors | 10 | €2.20 | €22 |
| Project boxes | 10 | €1.80 | €18 |
| USB-C power adapters | 10 | €4.00 | €40 |
| Total | €115 |
A commercial equivalent (10x Aqara temperature sensors) would cost approximately €200 and require their cloud hub. Your ESP32 setup costs less, has no cloud dependency, and you own the data.