Building a Home NAS with TrueNAS SCALE in 2025
A step-by-step guide to speccing, building, and configuring a home NAS for media, backups, and file sharing using TrueNAS SCALE.
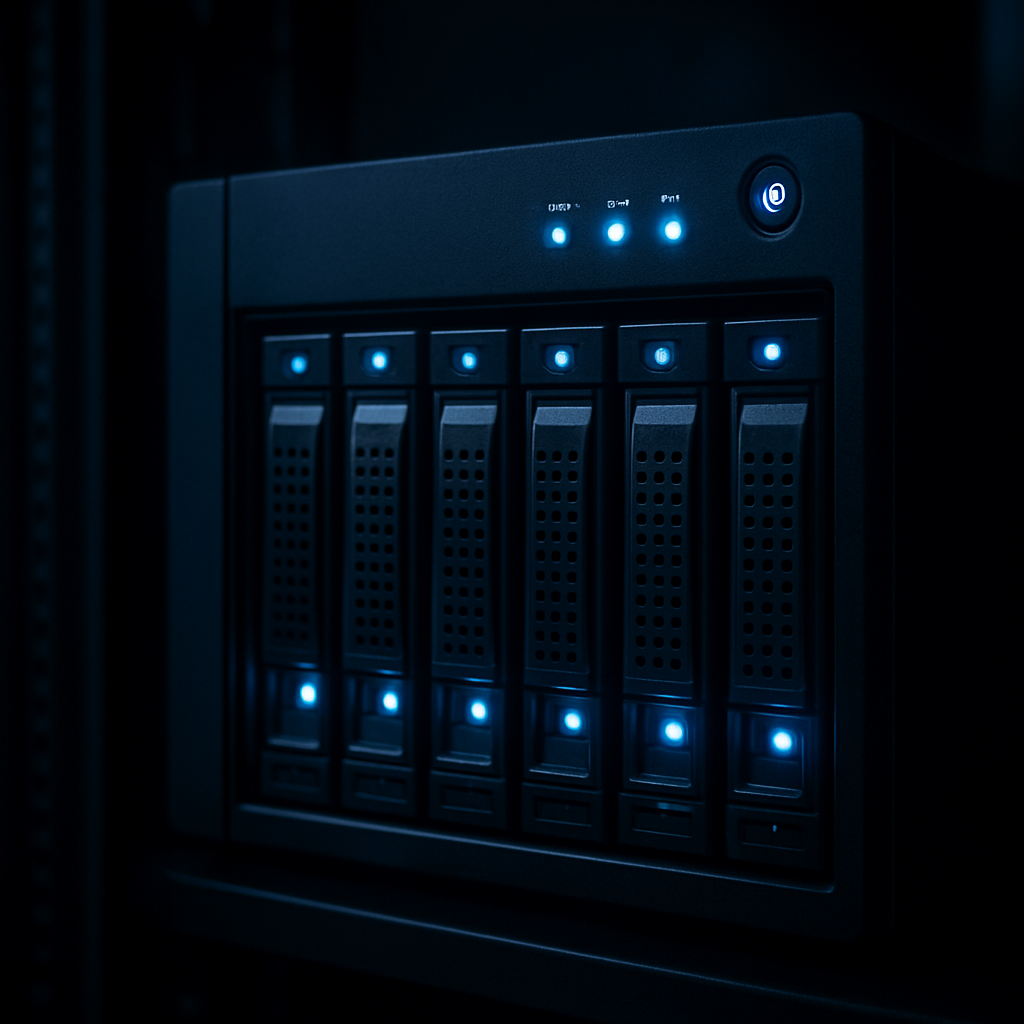
A home NAS (Network Attached Storage) is one of the most practical purchases for anyone who values data longevity. Cloud storage has hidden costs, vendor risk, and limited control. A self-hosted NAS gives you raw capacity, redundancy, and ownership.
Why TrueNAS SCALE?
TrueNAS SCALE is Debian-based (compared to the FreeBSD underpinning of TrueNAS CORE), supports Docker and Kubernetes apps natively, and uses OpenZFS for storage. In 2025 it has overtaken TrueNAS CORE in community adoption.
Key advantages:
- ZFS with native scrubbing — data integrity at the block level
- App ecosystem via TrueNAS Charts (Nextcloud, Plex, Syncthing, etc.)
- Snapshots — point-in-time filesystem states, near-zero cost
- SMB and NFS — native Windows network shares and Unix mounts
Hardware Considerations
CPU
Avoid consumer gaming CPUs with high TDP. The ideal NAS CPU is efficient, has ECC memory support, and idles cool.
Recommended: Intel N100 (passive cooling possible), AMD Ryzen 5 5600G for app workloads, or an older Xeon E3-1200 series for those wanting a server-grade platform with ECC.
RAM
ZFS is RAM-hungry. The old rule of 1 GB per TB of storage is outdated but still a useful baseline. For a 4-drive home NAS:
- 16 GB minimum for basic file sharing and Plex
- 32 GB recommended for ZFS caching (ARC) and running apps
ECC RAM is preferred for data integrity, though not mandatory for home use.
Drive Selection
For data drives:
- WD Red Plus and Seagate IronWolf are purpose-built NAS drives with vibration compensation and 24/7 rating
- Avoid SMR (Shingled Magnetic Recording) drives — they perform poorly under ZFS resilvering
- CMR drives only: WD Red Plus, Seagate IronWolf (standard), Toshiba N300
For boot drive:
- A dedicated USB drive or M.2 SSD separate from the data pool
- Never boot from a drive in your data pool
RAID Topology
| Config | Min Drives | Redundancy | Capacity |
|---|---|---|---|
| RAIDZ1 | 3 | 1 drive | n-1 |
| RAIDZ2 | 4 | 2 drives | n-2 |
| Mirror | 2 | 1 drive | 50% |
For home use with 4 drives, RAIDZ2 provides excellent protection. With 6 drives, RAIDZ2 remains a good choice offering 4 drives of usable capacity.
Initial TrueNAS SCALE Setup
- Download the ISO from truenas.com and flash to USB with Balena Etcher
- Boot and install to your designated boot drive — takes under 10 minutes
- Set a static IP in your router's DHCP reservation for the NAS MAC address
- Create a storage pool using the Disks → Pools wizard
- Create datasets for different use cases (media, backups, documents) with appropriate permissions
- Enable SMB shares for Windows access or NFS for Linux/Mac
Critical First Steps After Installation
Enable Scrubbing
ZFS scrubbing checks all data against stored checksums and repairs errors. Enable monthly scrubs under Data Protection → Scrub Tasks.
Configure S.M.A.R.T. Tests
Set up weekly short S.M.A.R.T. tests and monthly long tests on all drives. These catch failing drives before they fail catastrophically.
Set Up Replication
Local redundancy is not backup. Configure off-site replication to a second ZFS system, or use Backblaze B2 (natively supported in TrueNAS SCALE) for cloud backup of critical datasets.
Power Consumption
My 4-drive RAIDZ2 build consumes:
- Idle: 35W
- Active (streaming): 48W
- Resilvering: 72W
At €0.28/kWh, that is approximately €85/year running 24/7. A Synology DS923+ with the same drives would cost 20–30% more in electricity due to a less efficient ARM SoC under sustained load.
Conclusion
A self-built TrueNAS SCALE NAS gives you more control, better performance, and often lower cost than a prebuilt appliance. The setup takes an afternoon, and the confidence of knowing your data is local, redundant, and not subject to subscription price hikes is worth every hour.